Smartphone Apps You Need When Visiting Japan
When I first started making trips to Japan, surviving on streets that were new to me using a language I could barely speak came through a wallet stuffed with cash, a hand full of train tickets, a bag carrying both a printed Japanese/English dictionary and an atlas, a Sony digital camera, and a MiniDisc player loaded up with traveling music.
These days, a single smartphone can now serve all of those functions, while also offering even more tools and tricks for helping us navigate the most foreign of locations. With Japan fully opened back up to tourists, and the country being a popular destination due to a weaker Yen (at least as of kicking off this guide), I thought I’d share my list of recommendations for the smartphone apps you should definitely have with you when traveling to Japan—or, depending on your destination, perhaps other countries as well.
Every smartphone app listed below is one that I’ve actually used for one or more trips to Japan. In part because of that, you won’t find a lot of tourist-y types of apps, as I never do guided tours, rarely buy into travel packages or visitor passes, and don’t really care for recommendations on what I should see or do. Instead, these are apps meant to make your life a little easier, or to give you a bit of help should you ever get stuck. As well, all of my experience is iPhone-based, but where possible, I’ve tried to also list Android options that I have either used in other situations, or where the app also has an Android equivalent. And, not surprisingly, all of my choices will first and foremost be targeted at Americans, given I am one.
Finally, if you’re wondering how to use your smartphone in Japan, that gets a little more complicated. For years, I used Rentafone Japan, which was a reliable option for either renting older-style phones (before smartphones were a daily necessity) or renting pocket wifi routers to tether a smartphone to. As well, I’ve tried a few carrier international options, which ranged from actually pretty reliable (T-Mobile) to a total disaster (Verizon).
At this point, the two options I’d recommend would be either renting a pocket wifi unit from a company that focuses on Japanese rentals, or to find out about getting a Japanese eSim if your current smartphone supports that technology. As I found out during my trip during the summer of 2022, if you’re relying on a foreign-based international option to work in Japan and it doesn’t, you can get screwed very hard very fast. Go for something that’s strictly Japan-based, though I don’t have any suggestions as the moment that would come from personal experience.
This list will be expanded as I try more apps on future trips—the current date on this article reflects when it was most recently updated.

| > | Apple Maps / Google Maps |
| Apple / Google |
Now, I know what you’re already thinking: You’ve come to this list to learn about useful apps you might not know about, and I’m kicking things off by recommending one of the most basic pieces of software that every smartphone comes stock with.
The thing is, with this recommendation—and a few others we’re going to hit on—it’s not that you don’t have the app already, it’s that you might not know of a particular function of said app that could be of importance to you when traveling abroad.
As of iOS 17, Apple Maps finally shares a long-awaited feature with Google Maps: the ability to download and use maps offline. One of the important things I want to stress about using your smartphone abroad is that, even if you’ve figured out a seemingly rock-solid solution for internet access during your trip, things can always go wrong. Even when in your own country, cell phone service is not always guaranteed, and losing internet access even for a moment in an unfamiliar place can be a harrowing experience.
Having an offline map of the city or overall area you’re going to can come in handy, from simply having a way to show someone exactly where your hotel is in case something goes wrong, to planning out a day of shopping while on the subway where internet access may be spotty. And, downloading maps for offline use takes up less resources than you might expect. For example, I did a test for downloading a map of the Osaka – Kobe – Kyoto – Nara area which extended far enough south to include Kansai International Airport, and the download size was just over 1GB. That’s a lot of map information to always have accessible in case something happens.
On Apple Maps (as of iOS 17), click on your avatar next to the search bar, choose Offline Maps, then Download New Map. From there, search for your destination, and you can adjust both the amount of the map that you’re downloading, and the dimensions of the downloaded area. For Google Maps (at least on iOS), first, search for the area you want to create an offline map for. Then, click on your avatar in the search field, choose Offline Maps, tap Select Your Own Map, then resize to fill the downloadable area with as much of the map as you’ll need.

| > | Apple Wallet |
| Apple |
In the early days of my trips to Japan, cash was very much king. You could typically use a credit card somewhere like a hotel or at the airport, but in almost every other situation, you’d better have paper money on you or you were screwed. And, even then, you had to make sure your card would actually work overseas, set a travel notification so that it wasn’t instantly frozen when used outside your home country, and hope that the conversion fees weren’t too terrible.
Nowadays, using a credit card in Japan is definitely an easier experience, but it’s still far from fool proof. And, that is doubly so for using tap to pay with your phone. Even when you’ve got a payment option that has no international hurdles (which we’ll get to shortly), how you can use a credit card at the establishments that do take them is always a gamble. I’ve visited plenty of shops that had the NFC readers right there on the counter, complete with “supports Apple Pay” stickers, where the reader just didn’t work, the staff didn’t know how to use it, or they simply refused to let you use it.
And yet, there’s one very important way that your Apple Wallet can assist you that is both reliable and a huge point of convenience: prepaid train passes.
As a foreigner who hails from a land where trains are mostly used to carry cargo, I fell in love with Japan’s rail system. While refillable cards could be purchased and used years ago, I still preferred to buy individual tickets for each trip that I took, both because it was another thrilling part of the overall experience for me, and also because it helped me learn the direct costs of getting from one place to another.
At this point, the reality is that buying individual tickets is mostly an inconvenience at this point, and using a prepaid option such as Suica, ICOCA, or PASMO is clearly the better option. Not only can you just swipe your IC card to get onto a train (or some other forms of transportation) and not stress over if you bought the right ticket or if you have enough cash on-hand to get to where you’re going, but you can use those cards to pay at supporting vending machines, convenience stores, and even some restaurants and shops (most often those found around major transportation hubs).
There’s now a big catch to all of this, however: As of the summer of 2023, a few major IC card such as Suica no longer offer physical cards for purchase. Foreigners can still buy something like the Welcome Suica card, but those only last for a short time window, and really, who wants to be seen traveling around using one of them dirty gaijin badges. As well, being honest, having a physical IC card was always a bit of a pain in the butt as a foreigner. Getting a card required a 500 yen charge that was refundable, but only under certain conditions. And, if you didn’t use your card for a set period of time, it could be shut down. Plus, you had to remember to actually take the card with you on your trip.
Now, it’s incredibly easy to add a refillable train card to your smartphone, add money to it when needed, and keep track of both the amount it has left and the trips you’ve taken. And, at least in my experience using a Suica card on my iPhone, I never even had to have anything specific showing on my screen when passing through train stations. Pull my phone out, wave it over the IC card sensor on the gate, and I was on my way.
If you’ve looking into getting a train card set up on your phone, you may have seen recommendations such as downloading the official Suica app and purchasing/managing a card through that. You can do it that way, but there’s also a much easier option.
On iOS, go to Apple Wallet, then tap the + button in the upper-right. Select Transit Card, then (at least as of writing) scroll all of the way down to the bottom to the Japan section. There, you’ll see (again, as of this moment) three options: ICOCA, PASMO, and Suica. Pick the one—we’ll get there, hang on—you want to use, go through the steps, put some money on it, and you’re good to go.
I do need to note that I’ve heard some people say that they’ve had trouble adding funds using a foreign credit card. I can tell you that I had zero issue using a Wise card (the payment option I hinted at before that’s coming below), and I literally just did a test of adding funds using my Apple Card late last year, which worked just fine. If you have any problem adding funds, try a different credit card, and also maybe try using Apple Cash to see if that can work as a form of payment. (I’ll update this section at a later date when I’ve confirmed if Apple Cash works or not.)
Now to the big question: Suica, PASMO, or ICOCA? The answer is, as a foreigner visiting Japan, it doesn’t really matter. And, for those living in Japan, it probably doesn’t matter either as of now. The different IC cards come from Japan’s different train operators, with those cards being three of the biggest, but it’s been years since the various regional options standardized being able to use one company’s card on another’s network. I believe there still used to be some potential catches to where and when you could refill certain cards, but when you’re doing that all on your smartphone, it’s a moot point. The only real issue you’re likely to run into is that you can’t use any particular IC card to pay for a train that travels from one network to another, but the chances of you actually running into that problem are pretty slim, as you typically need to exit one station and travel to another to switch networks anyhow.
If you really don’t know what to chose, then my vote would be Suica. Among Japan’s various IC cards, it’s the biggest, so while everything is pretty equal at this point, that fact might give you a bit of extra comfort.
Note: I was initially under the impression that there was some way to add Suica or PASMO cards to Google Wallet, but have heard from at least one person that it is not possible (at least for on foreign smartphones). So, as of now I am unable at this point to give any advice on how to go about all of this on an Android device.
| > | Wise (formerly TravelWise) |
| Wise Payments Ltd. |
WARNING: Any time anyone gives you any sort of recommendation for an app that is built in any way around sums of money larger then a micro transaction or two, always do proper research before using such an app to make sure you have a full understanding of what it is, how your money will be involved, and the potential risks in using it. Do not take my experience as an end-all source of information for Wise, and before you consider using it, check out other sources of positive and negative opinion on the service for your protection.
Given the inconsistency of support for paying with a credit card in Japan until recent years, one of my biggest headaches surrounded one of my most basic needs: money. Outside of America’s bigger, more international cities, picking up some Japanese yen isn’t always an easy—or cheap—process. Even when it is, there’s always the question of how much actual cash I’ll need for my latest trip. Too much yen, and I’ll be sitting on money I might not need for years; too little, and I could find myself stressing during the trip. Sure, you can always exchange money while over there, but my time living in Japan left me keenly aware of how much of a nuisance that can be.
Given that trips back to Japan have now become a more common things thanks to having a spouse from the country, we’ve tended to keep yen on hand at all times, knowing that we’d always have a chance to use it the next time we went over. On our most recent trip, our stock was running low, so I set out to find a good source for exchanging currencies. The problem? The previous time we’d gone, we were still in Los Angeles, where currency services were more readily available. Now, back in my home state of Nebraska, I was reminding of the lack of resources for such a need—which was then only made worse by the fact that foreign currency supplies had dwindled locally due to still being under the shadow of COVID-19.
Thinking that there had to be a better way to buy foreign currency in our more modern world, I went looking for alternate solutions. That’s when I came across Wise, an app (and service) that has been a breath of fresh air for us when it comes to buying, using, and managing Japanese yen.
(Hey, you know that warning I gave above? Just reminding you about it again.)
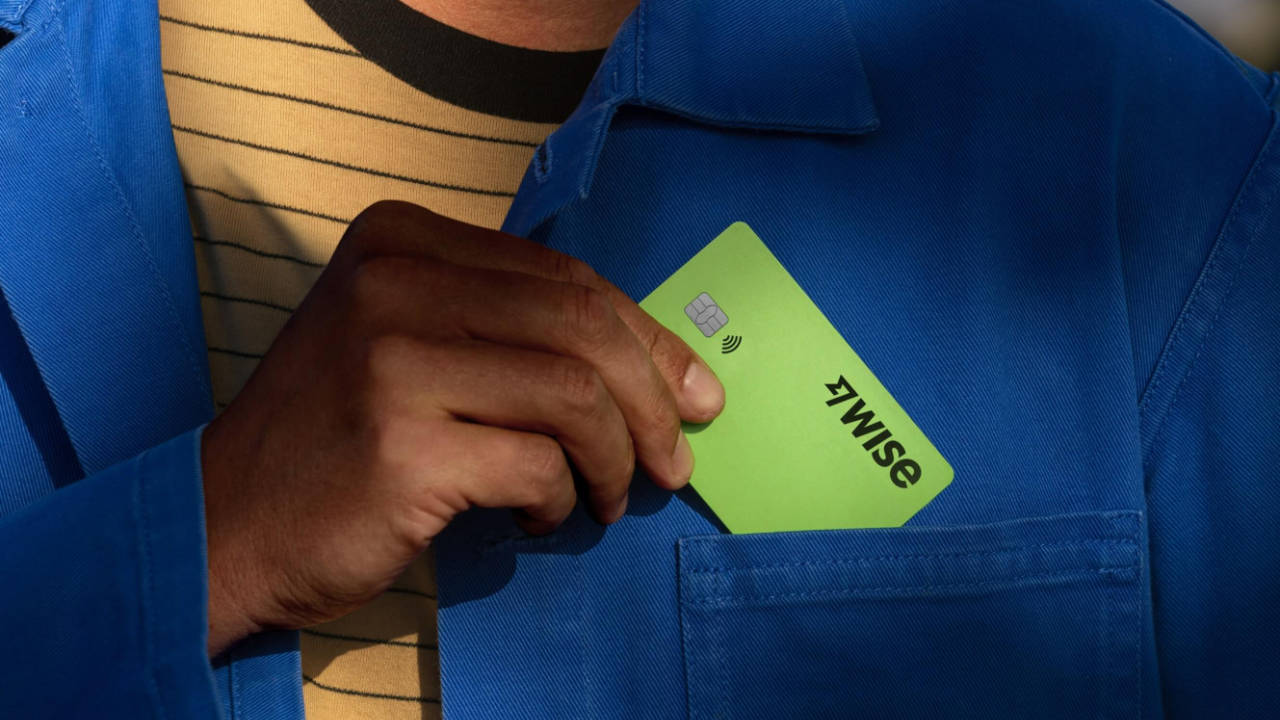
Wise, formerly known as TransferWise, is what’s known as a “fintech,” or “financial technology.” It is not a bank, but instead a service that makes use of partnerships with banks and other financial institutions in various countries to accomplish its goals. While the company was originally created (from my understanding) to act as a service for sending and receiving international money transfers—hence its old name—it now also serves as a way to purchase, hold, and use 40 foreign currencies from 160 countries. Personally, I have two “balances” set up: one for Japanese yen, one for U.S. dollars. In addition, I have a physical debit card (that can also work as a credit card), as well as a virtual one in my Apple Wallet.
What makes Wise so helpful to me is that, at any time of day, from anywhere in the world, I can pull money from an external bank account to use to purchase yen. (Or, if I really wanted, I could add it to my balance of U.S. dollars.) I can then use the physical card, the virtual card via my Apple Wallet or Apple Pay, or the card number online to make purchases directly in yen. I can take that debit card to any ATM in Japan—well, in theory any ATM, which we’ll get into—to withdraw yen that I’ve got in my balance without any exchange fees (but including a small fee from Wise if I take out more than a set amount per month). Anywhere that changes me in yen will automatically pull from my balance of yen when paying, as if it were coming straight out of a Japanese bank account. And, I could do the same for any of those 40 supported currencies. As an example, if I had all of the proper currency in my account, I could pay luggage costs in dollars at my departure airport, buy food in South Korean wan during a layover at Incheon Airport, and buy a train ticket in yen after touching down in Japan—all without doing anymore more on my part than simply using the card.
Throughout all of this, I can head off on a trip with as much, or as little, yen as I want. I can buy enough to get me through what I think I’ll need, and then add more later should I be spending more than I was expecting to, or I can buy a ton of yen and then either keep it on hand for next time, or even convert it back to U.S. dollars (or to a different currency) should the need arise.
Where Wise becomes incredibly helpful—yet potentially dangerous—is the crazy exchange rate we’ve seen across the last year or so when it comes to yen. For a long time, I’d gotten comfortable with the idea that $1 = ¥100, but as I’m writing this, we’re in the range of ¥147 per $1. Previously, I would have just gone with whatever exchange rate was current as we neared our trip, hoping that we might get slightly lucky with a fluctuation in our favor. Now, during these times when we’re near what was (to me) an unthinking ¥150 per $1, I could buy some to squirrel away in case the yen strengthens again by the time our next trip comes around. Even if you don’t travel to Japan, if you’re someone who often buys items from Japanese companies that ship overseas, you could use Wise to buy yen when the exchange rate is more favorable to then use later when you’re ready to make a purchase.
The strength to doing all of this through Wise is that their exchange rates are incredibly good in my experience. Now, until you get to large amounts, it’s more a mental difference than a monetary one, but I’m the type of person who gets bothered by watching a high exchange rate drop during the process.
As an example, at this very moment, the current exchange rate is ¥147.63 per dollar. If I try to purchase ¥100,000 through Wise, it’s giving me a rate of ¥147.64 per $1, meaning the cost will be $681.94 plus a $4.62 standard fee. (The slight difference in the exchange rate comes from the fact that the Japanese market is open as I’m writing this, so I no doubt checked at a moment when things were a bit more in my favor.) Meanwhile, if I go through either Wells Fargo or Bank of America to buy that same amount of yen, both are giving me exchange rates around ¥140 per $1, meaning I’m looking at a cost of $711 plus fee if going that route. Again, at this level, $30 isn’t a huge difference—but it’s also the cost of a nice meal, or a new pick up at the retro game store, or a refill for my train pass.
So, what are the downsides to Wise? Well, first, obviously, the fact that it itself is not a bank. For us Americans, while we can set up a savings account with them that will have typical FDIC insurance up to $250,000, that doesn’t cover any international balances you may have. Again (again), do your research before even thinking about using Wise (or other services like it that I won’t name as I’ve no personal experience with them), and do not suddenly transfer your life savings to them.
In terms of usability, I never had a problem using my Wise card anywhere that accepted credit cards (in person or online), but I did have a few issues when trying to get money out of an ATM. Japanese ATMs are notorious in how hard they can be to use for anyone with a foreign account, and even though Wise’s debit card is supposed to be able to work as a native card would, I did not find that to be the case. If you already follow the gaijin rule of expecting to have to use a 7-11 ATM to withdraw money, I would stick to that assumption here as well, and then consider yourself lucky when and if it works with other machines. Beyond that, just make sure you understand what you need to do to use your Wise card for the first time, and take precautions for securing your account like you would any other important account.
| > | Translate / Google Translate |
| Apple / Google |
There are two facts of life when it comes to language translation apps: First, that you’ve got a lot of choices of what to go with, and second, that none of them are ever as good as you wish they’d be.
Given those facts, I tend to not get fancy with my choice in apps, so long as they’re helpful for those occasional times that I need them. Apple’s Translate can, well, translate language either in text or audio back and forth between a handful of languages, and it also has a camera option for using your smartphone to produce real-time translations of things such as signs, menus, and whatnot. In my experience, the camera option in these kinds of apps ranges from “a bit helpful” to “completely useless,” so your mileage may vary.
The two features I really like about Translate are that it allows you do download languages so that you can still do translations when no internet connection is present, and that it has a neat conversation option. You can use it to translate back and forth between two languages using auto language detection for speech, and it even has a nifty “face to face” option where you can lay your iPhone down between two people, and each get their own language’s blocks of text.
For those on Android, Google Translate seems to provide most of the same features, though at least in the version I can run, doesn’t provide that last option.

| > | Japanese |
| Renzo, Inc. |
There may come times when you need something a little more powerful for translating between English and Japanese, and for that, I’ve been a longtime fan of Renzo Inc.’s Japanese. You can use it to brush up on your Hiragana and Katakana, search for Kanji by their pronunciation, grade level, frequency, radical, or other means, get lists of words depending on their parts of speech, check out common vocabulary related to certain areas of life (such as art, chemistry, computers, or sports), or get a rundown of what Kanji are part of each of the ten levels of the Kanji Kentei. As a full-fledged dictionary, you can also use Japanese to search for words in Hiragana, Katakana, Kanji, via their English equivalents, by their radicals, or even by drawing the Japanese characters on your screen using your finger.
The downside to Japanese is that it’s usefulness is often directly proportional to your knowledge of Japanese. So, for example, if you can’t read a ton of Kanji, but do know the rules of stroke order when writing them, you’re going to get more out of the app than you would not knowing those rules. Even so, if nothing else, Japanese can come in handy as something to give to a native speaker to help navigate through conversations if they aren’t familiar with English.
| > | Mobile Passport Control (CBP MPC) |
| U.S. Customs & Border Protection |
Before we go any further, let me say this: anything dealing with government rules and regulations can change at any time, as can anything tied to immigration policies. My experience with the Mobile Passport Control app is as of the summer of 2022, so I can only speak to how things were as of then.
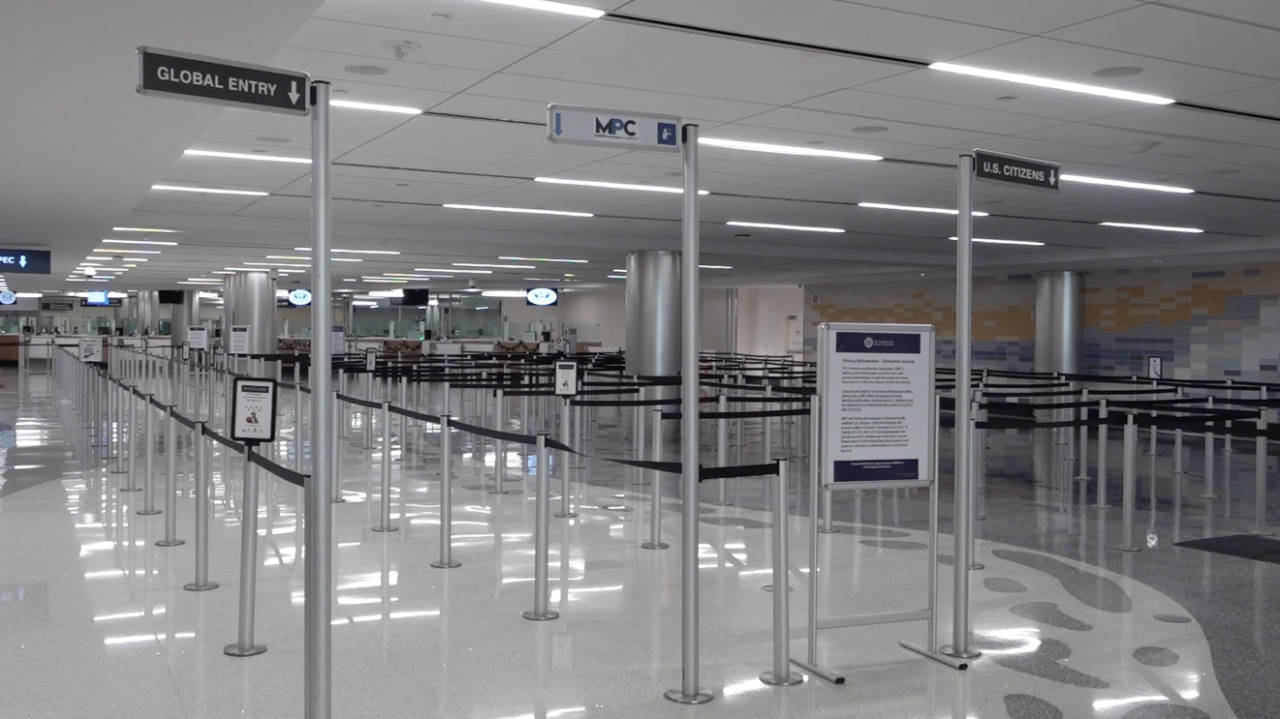
When coming into (or back into) the United States, there are two areas both citizens and foreigners must pass through: immigration and customs. The U.S. Customs & Border Protection’s Mobile Passport Control app makes the process of getting through customs quicker and easier, as you can digitally fill out the CBP Declaration Form 6059B either for yourself of your entire family.
What’s the big deal, you might be saying. Filling out that form isn’t that bad. It’s not, but using the Mobile Passport Control app then also gives you access to using the “Mobile Passport Control” lane when going through immigration, which can be a huge time saver depending on how many other people at that moment are also using it. When returning durning my last trip, there were around 40 or so people waiting in the normal lane for U.S. citizens and permanent residents, yet zero in the MPC lane. So, I was able to just casually stroll to the front of the line.
Now, granted, a lot more people might have learned about the app in the year-plus since that trip, but I don’t think a majority of travelers are either going to care about it or even know of its existence until a day when customs requires everything to be digital. And, even at that point, I think we’re far more likely to see a reliance on checking in using the machines that are already part of immigration, so the Mobile Passport Control app could still be a heck of a time saver for years to come.
| > | Line |
| Line Corporation |
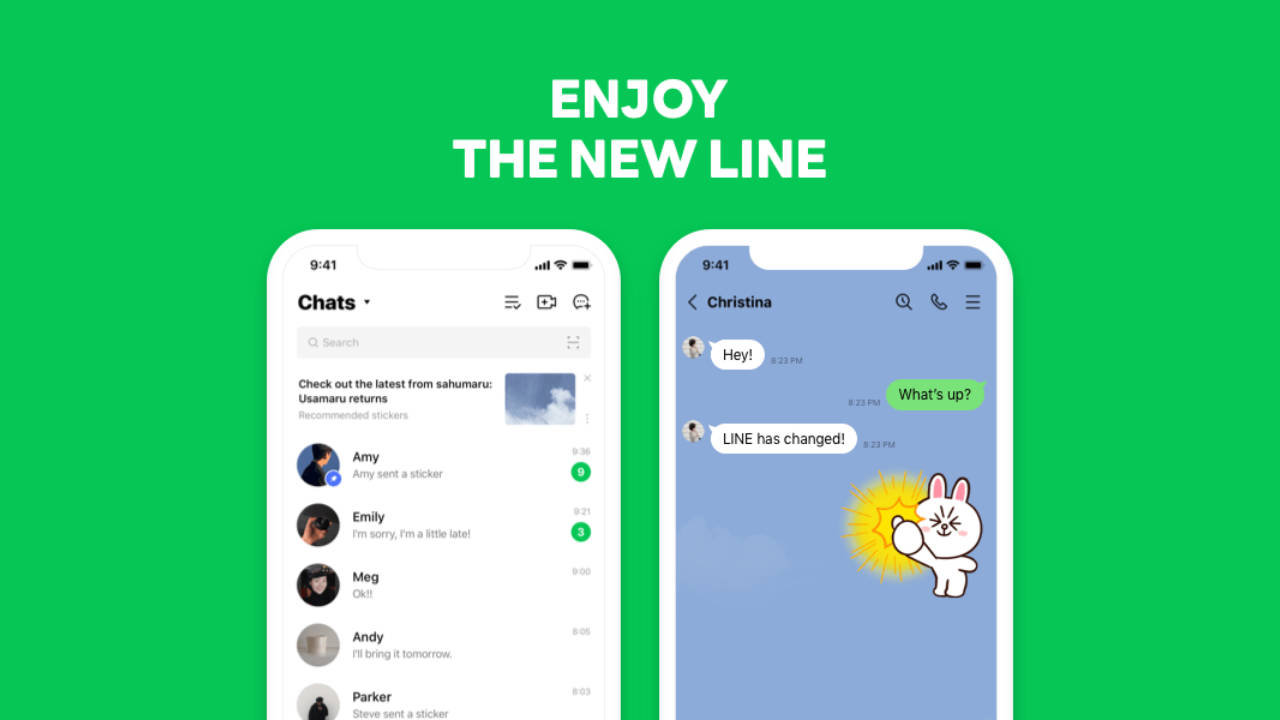
Line is an app whose value to you will be incredibly situational, but as Japan’s leaning form of internet-based communication, it’s a good thing to have should you ever need it. While the software’s value has diminished a bit with the removal of the ability to make and receive phone calls (outside of the app’s standard VoIP calls), if you know someone living in Japan you need to get in contact with while over there, or meet someone you want to connect with again during your trip, you’re most likely going to be using Line. As well, a number of Japanese business also use the app for customer support, so make an account and have it ready should a need ever arise.
| > | MetrO |
| Kinevia |
At first, Kinevia’s MetrO might feel like an app from a forgotten era, back when software for smartphones came in the form of simple, utilitarian tools before everything became flashy and shiny and modern. And, in many ways, it is indeed just that—and that’s part of its charm.
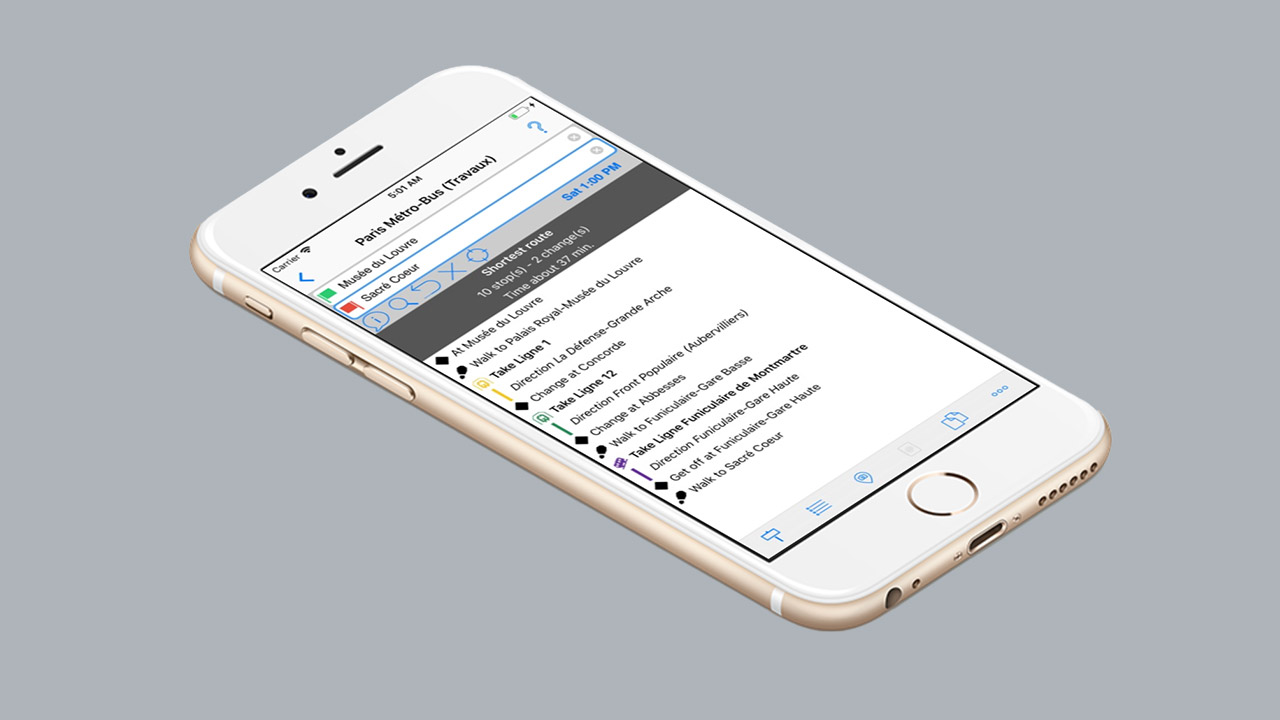
Put simply, for those cities and regions it supports, MetrO is a basic guide for getting you from one train station to another. You tell it the station you’re starting from, and the one you want to end up at, and it gives you a very basic breakdown of how to get from one to another. Sure, Apple Maps and Google Maps will do the same, with departure times, costs, and other frills. They also, however, bring along with them a lot of visual and informational complexity, something you might not want or need to deal with when you’re feeling lost somewhere and just wanting to get back to your hotel.
Input the two stations into MetrO, and it’ll tell you which train to take, the color of the line (if applicable), and every station you’ll be passing through in the process—something that’s especially handy if you’re riding an unfamiliar line, and you’re trying to keep track of where you’re at and when you need to be ready to get off.
MetrO is one of those apps that you might never use, but which could be a lifesaver should you ever need to. It’s easy to understand, it’s simple to look at, and it requires no internet connection to function. As someone with a passion for hopping trains I’ve never ridden before to see where they’ll take me, it’s an app I’m never be without just in case all of my other options for figuring out how to get home fail. And, even then, I still find myself using it more often than I might expect.